| Fox Minibike |
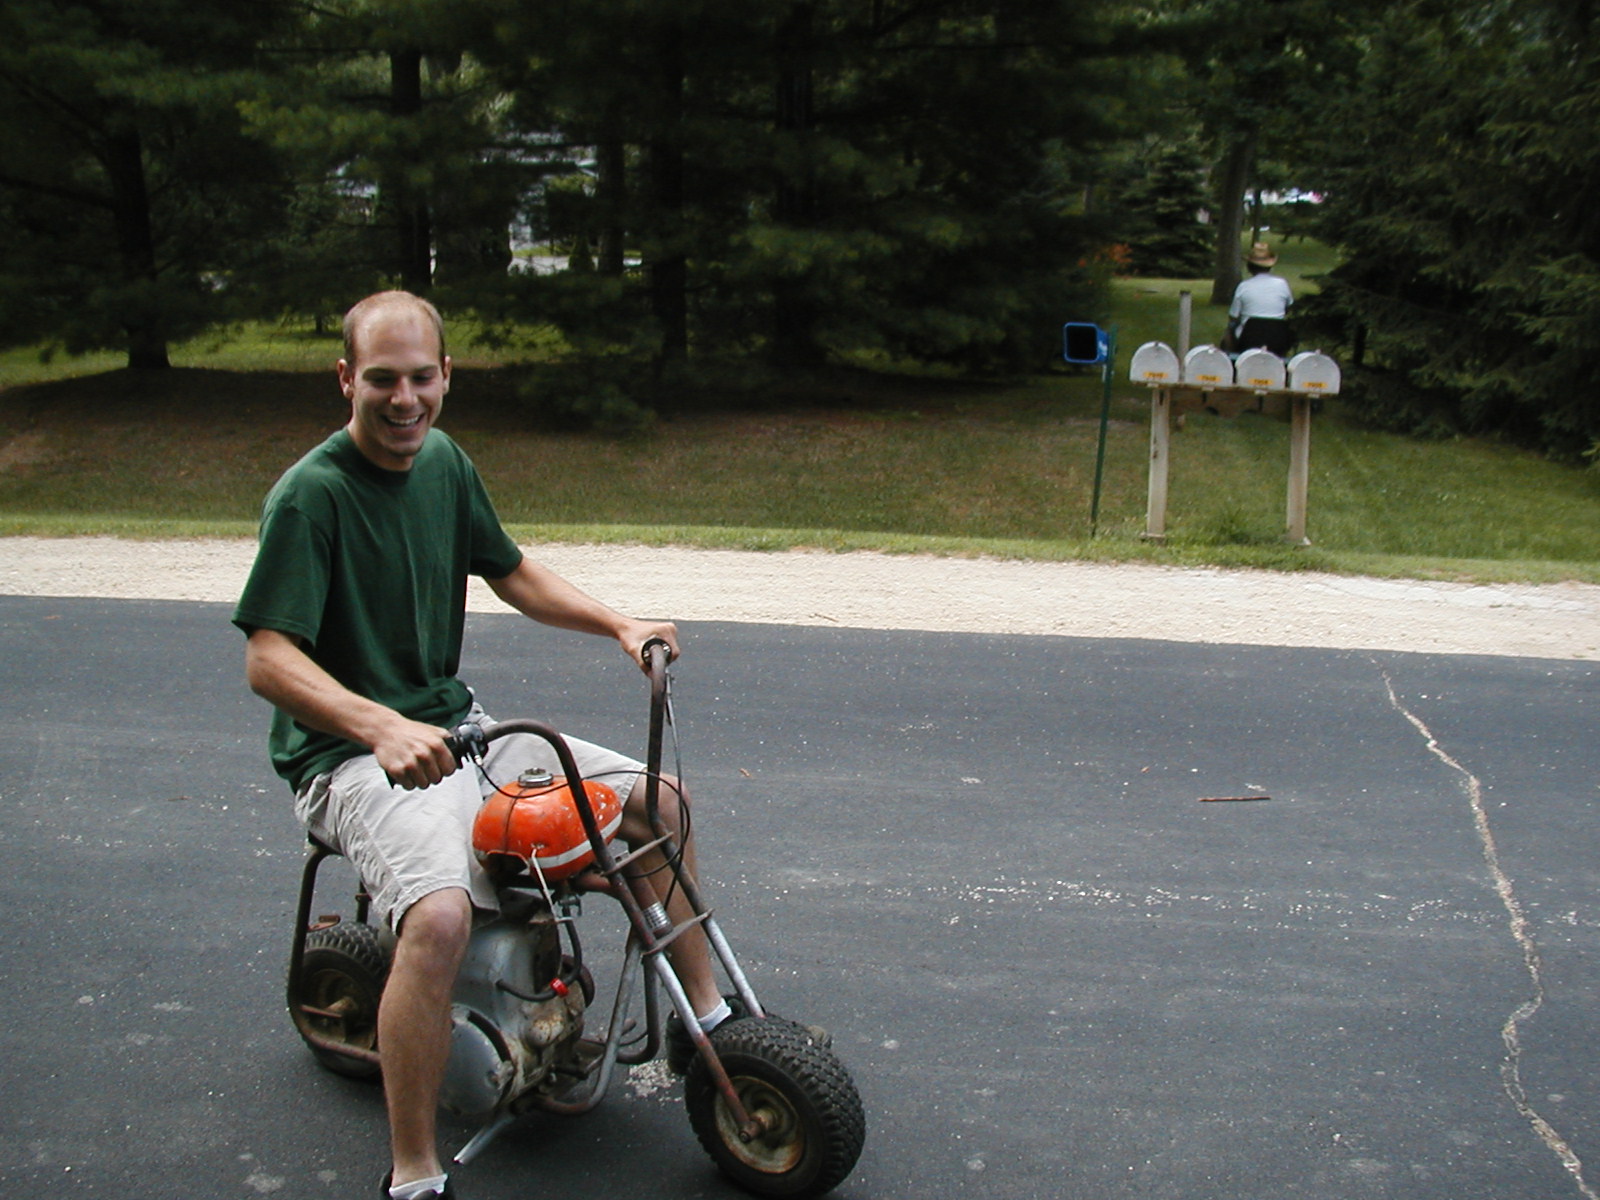 |
| I bought this bike for $100 from Aric and Dale. It's a Fox Minibike. These were built in Janesville, Wisconsin, in the 1970s. This particular bike originally came with a three horsepower engine in it but it was replaced with a six horsepower Tecumseh long before I bought it. It has no suspension and a brake (that doesn't work) that uses the rear sprocket as a disc. It also has way too much power. |
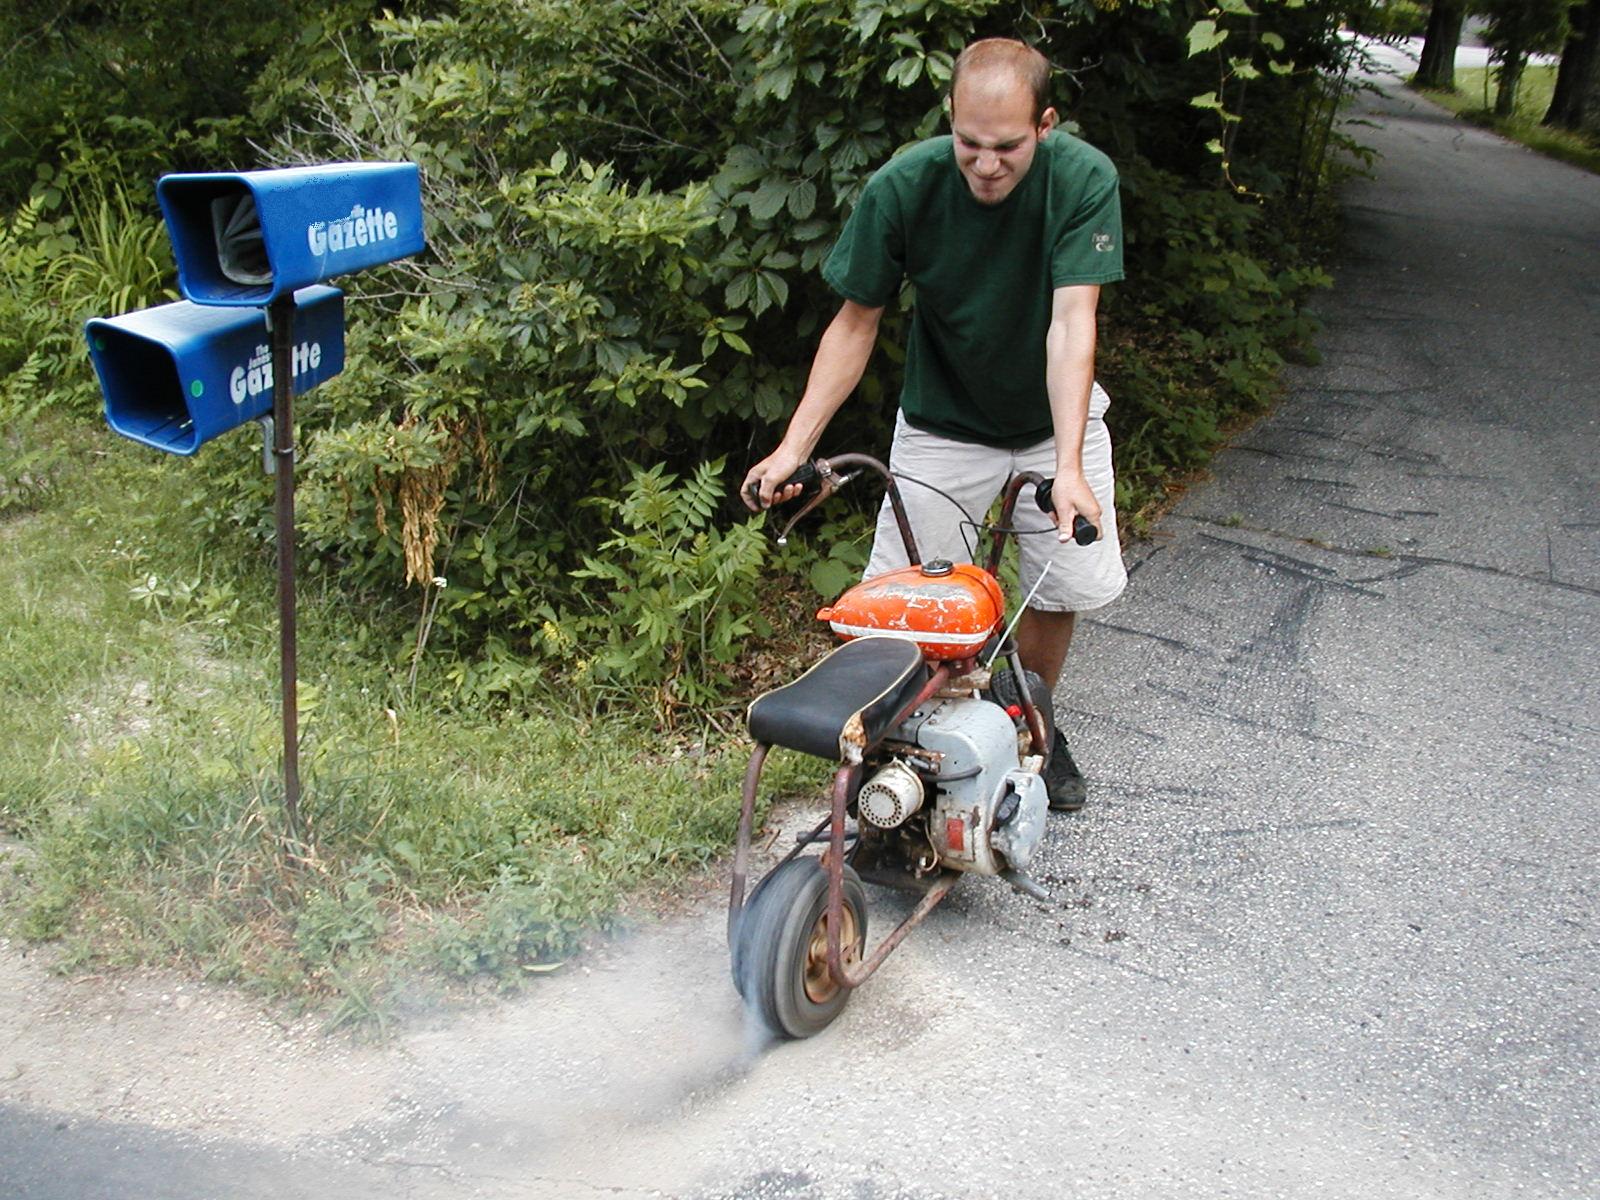
| Suicide burnout with lots of emotion. Nice. So far I have changed the oil and plug, cleaned the carb and replaced the rusted out lawnmower gas tank with one from another minibike (mounted sideways with baling wire). I also removed the rear fender and replaced the brake with NOS Electrak parts from the same era that happened to be exactly the same (thanks BG). I also broke the chain doing the chainsaw with it so that got replaced with one I had laying around the garage. (8-1-05) |
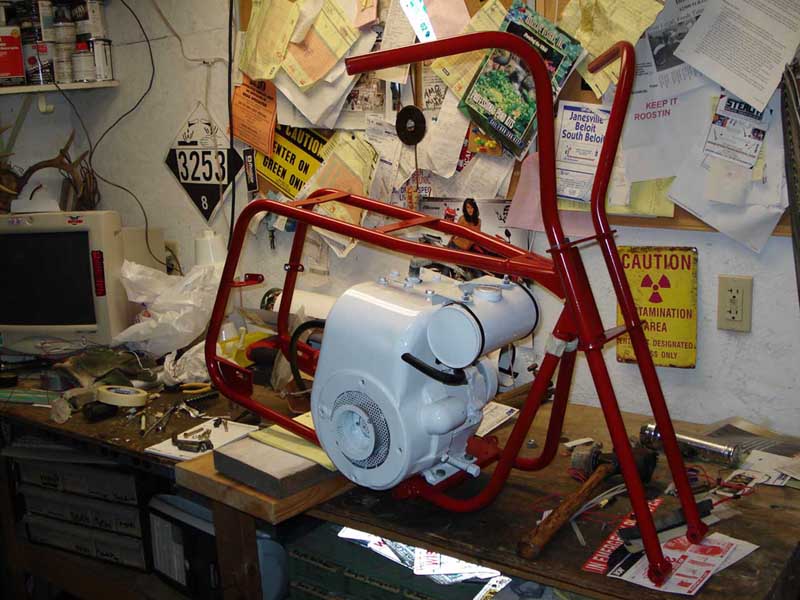
| The Fox is now taken completely apart. Most of the parts are in primer right now. I am going to paint the frame and fender red and the wheels and engine white. Aric gave me a round tank that will hang off of the engine to replace the rusted out original. I welded the cracks in the fender shut and wrote Harley Davidson on the side of the engine, cause that's what this thing reminds me of. That or a rototiller. Besides the new paint, it's going to have a recovered seat, new tires and really great pinstripes on the fender. (12-29-05) |
 |
 |
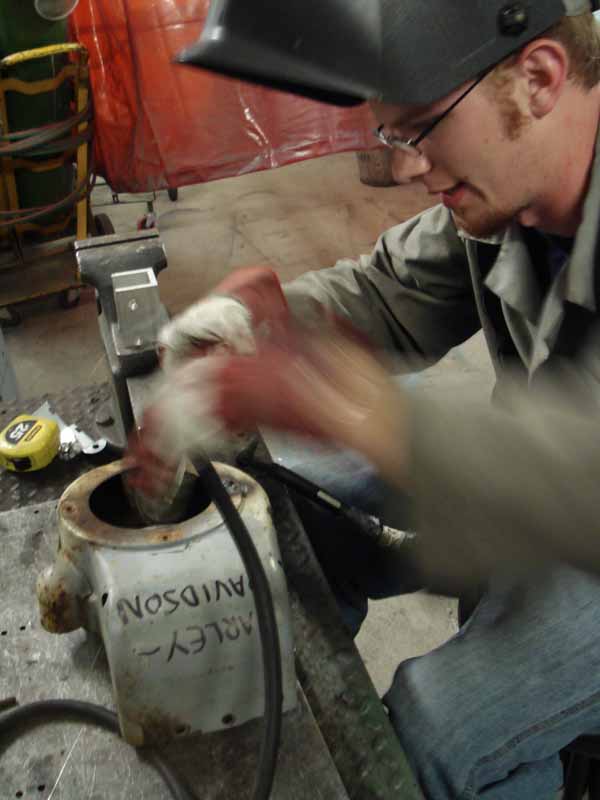 |
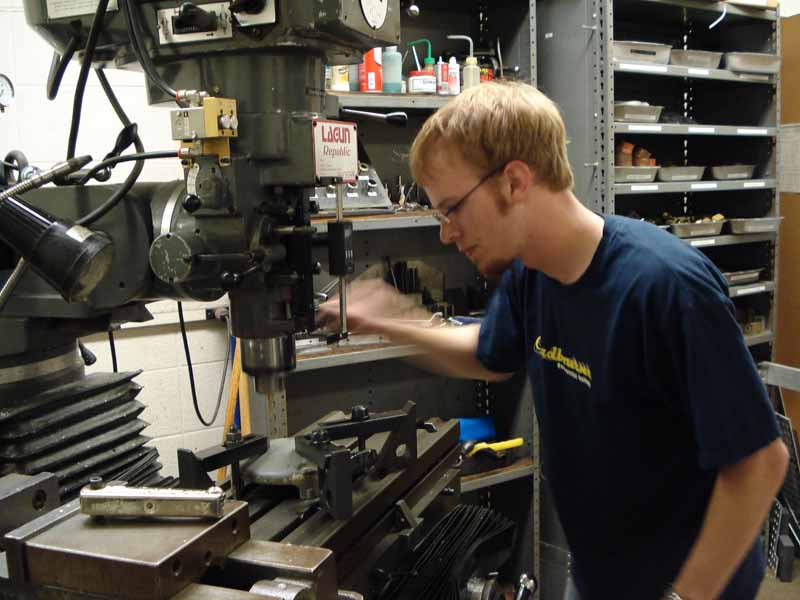
| The frame, forks, wheels, fender, and tank are in primer and ready to paint. I ran into some trouble with the engine cover and pull starter. Some of the bolts that attach the pull starter had no heads and were rusted stuck. After I tried some not very professional techniques to remove them, my brother drilled them out with a milling machine. One of the nuts that these bolts thread into was junk, so he also welded a new one in using a TIG machine. Note the blur effect in the pictures- just like Car Craft. (6-1-06) |
 |
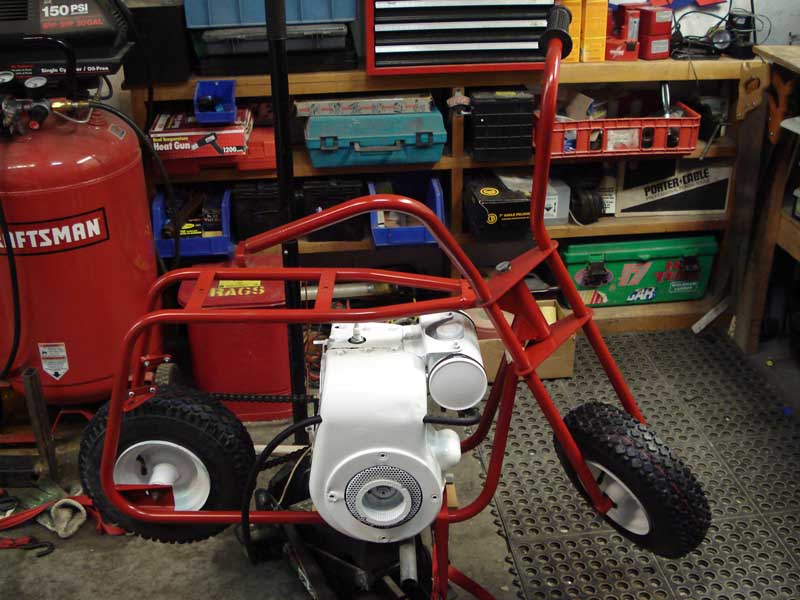
| I finally got the parts for the minibike painted- the frame, forks and fender are Ace Hardware Safety Red enamel. The engine and wheels were painted with PPG Omni white paint that I already had. I sprayed the parts in the yard with no serious problems. For a project like this, hardware store enamel is the way to go as it costs a fraction of what automotive paint does and provides similar results. A quart of the paint I used only cost $6.49 and can be custom mixed to any color you want. So far I have bolted the fork to the frame and installed the engine. The fuel tank was secured to the engine with tie wraps and a new fuel line was run from the tank back through the engine cover. (9-14-06) |
 |
 |
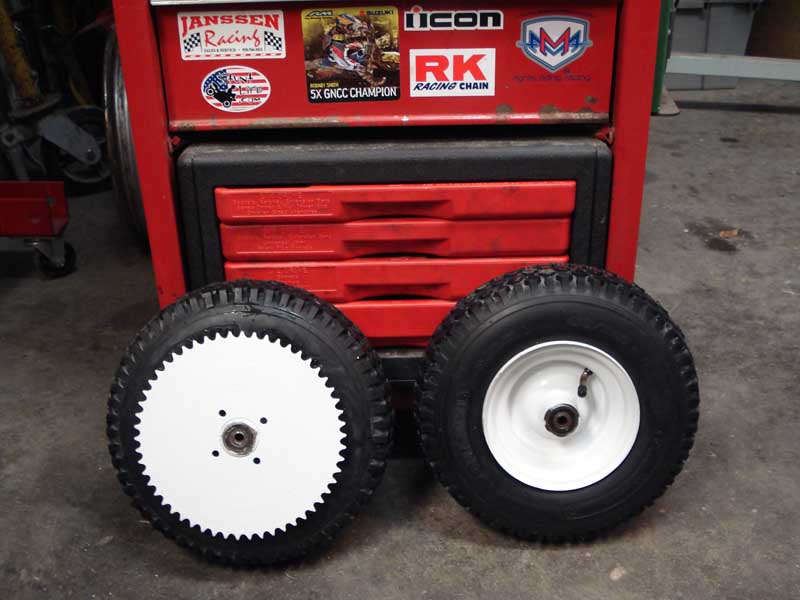
| I mounted the tires on the wheels today. Initially, I found them very difficult to work with because they so small. Once I got the technique down, it was no problem and I was able to mount the tires using three tire irons. I put 40 psi in the tires and used the original axles to install the wheels on the minibike.The chain also was installed, just prior to bolting the rear wheel in place. (7-14-06) |
 |
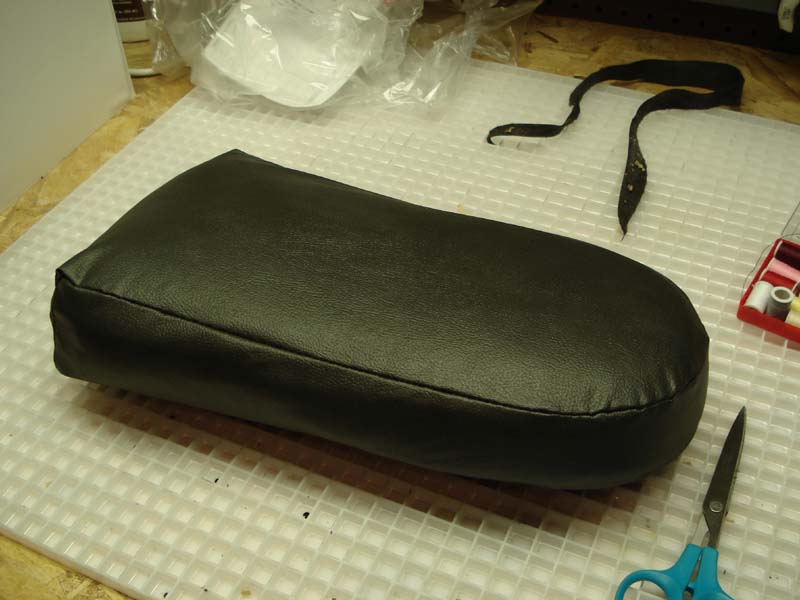 |
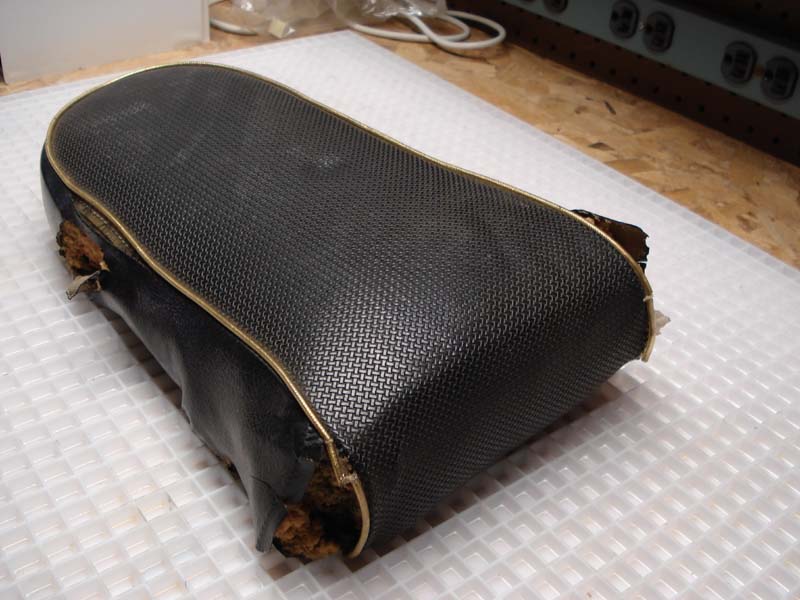
| The seat for the bike had three large holes and the seams were barely holding together. I decided to try reupholstering the seat myself so I bought vinyl fabric ($4) and a needle and thread. I first used scissors to cut the fabric, using the original pieces as a guide. Then I carefully stapled the two pieces together with an office stapler so that they would stay in place while I sewed. After looking up different types of stitches on Wikipedia, I decided to go with the backstitch. Although I have never sewed before, I had no problems sewing the pieces together. Finally, I wrapped the cover around the original foam and seatpan and stapled the overlap. (11-2-06) |
 |
 |
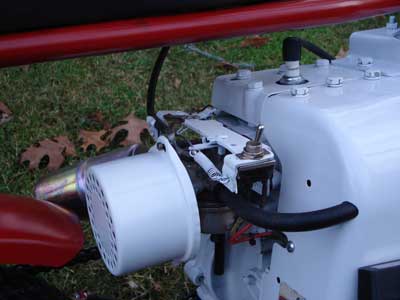
| Next I installed the exhaust. I welded a 45 degree plumbing fitting to a piece of flatstock that I had drilled to bolt to the exhaust port. I screwed a generic cad plated muffler from Farm & Fleet to this. I ended up having to use allen head bolts for clearance, but otherwise this has worked out well and doesn't back out when it gets hot like the original. After installing the exhaust, I cleaned the carb and bolted it up along with the carb linkage bracket. I was thankful that I had taken pictures of how the linkage works because it is complex. I also reinstalled the air cleaner. Next, I ran a fuel line with a filter to the carb. I also installed a toggle switch that grounds the coil to the engine so that the minibike will have an on/off switch. Finally, I reinstalled the throttle and cable. |
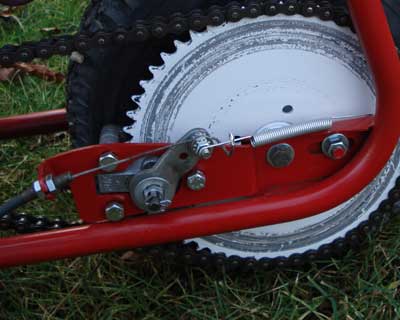
| The Fox also now has a spring that causes the brake lever to return. Additionally, shrink tubing was used over the original brake cable to make it look new like the rest of the bike. The rear wheel was pulled all the way to the back and the axle nuts were tightened to set chain tension. |
 |
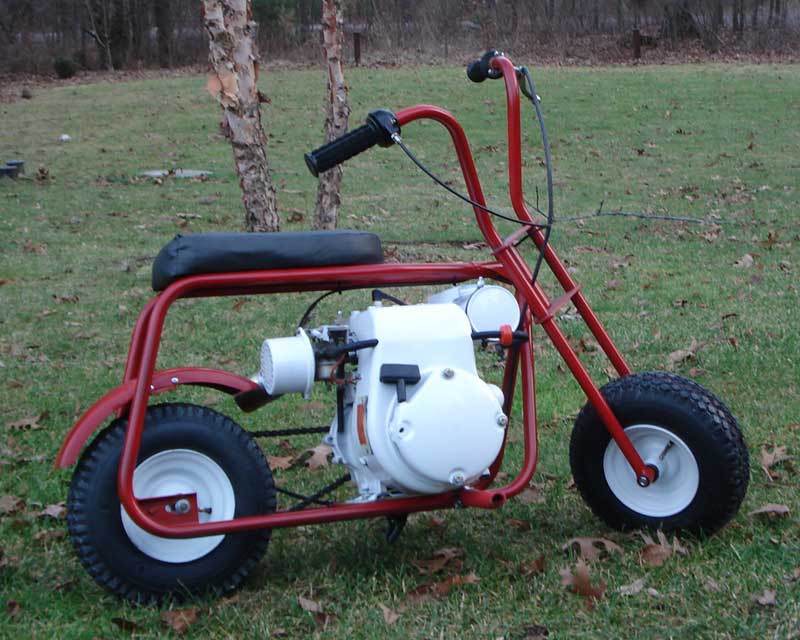
| I used plastidip red coating to cover the footpegs because paint would be slippery and would wear off quickly. Unfortunately, the plastidip is intended for tools and is not very much thicker or stickier than paint. Although I used three coats, I am not very happy with the results and would use something else if I was in a similar situation again. Below and to the right are pictures of the Fox in completed condition. Its not perfect and its definitely not all original but it is has been fun to work on. I like the fact that it is an interesting bike that has been hotrodded in a way that makes it better rather than just different. (12-29-06) |
 |