|
General Electric Electrak E20 |
|
|
|
 |
|
|
|
I worked at Technical Service on and off for a few years. Technical Service is the source for parts and service for General Electric Elec-trak garden tractors. These tractors were built in the 1970s and are powered by six six-volt deep cycle batteries. The tractors could be used with a mower deck, a snow plow, a rototiller, or any number of other attachments. When the tractor ran low on power, it was plugged into a normal wall outlet and recharged.
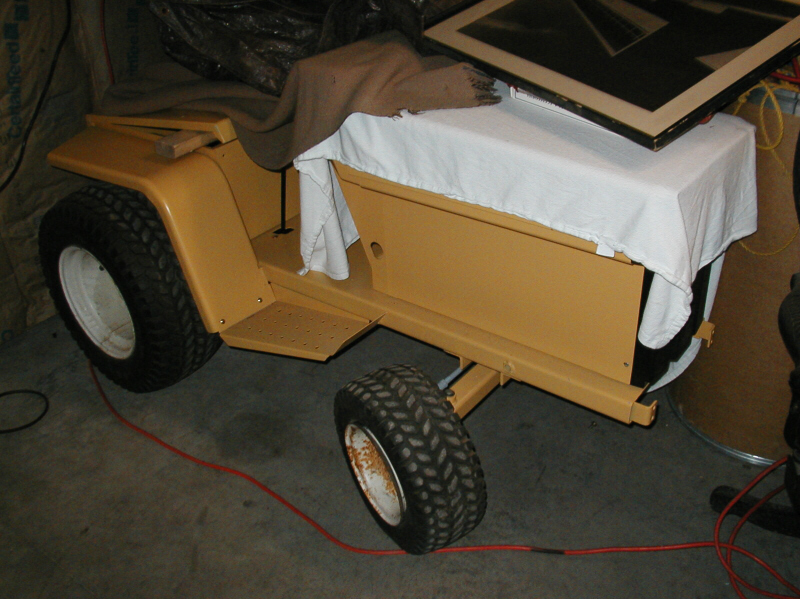
My tractor came from Bill at Technical Service. When I got it, it was nearly complete with the exception of a couple melted wires and no batteries. Around 2000, I tore the tractor completely apart with the intention of restoring it. The frame and body were sandblasted by the local monument company. They were then painted by my neighbor and friend Willard with a custom mix of Ace Hardware enamel paint. I sandblasted and painted the grill, transaxle, and motor. Then I reassembled these parts using new cadmium plated hardware. After that, I went to college and the tractor sat in the garage under a sheet, waiting for to be finished. The picture to the left shows it in this condition. |
|
|
|
|
|
I recently decided to finish the Elec-trak. I began by installing the front bumper and lift motor with new hardware. Then I wrapped the wiring harness in fresh electrical tape and installed it. Although all of the wires involved appear intimidating at first glance, I had an Elec-trak Homeowner's Service Manual which made the operation as easy as identifying each wire by the number printed on it and attaching the wire to the component indicated in the diagrams. After installing the wiring harness, I was able to install the gauges, power disconnect, brake switch, and speed control. I then reinstalled the brake pedal and linkage. Next, I painted the wheels for the Elec-trak, waited a week for the paint to dry, and installed new valve stems and the original tires. I was then able to reinstall the tires and wheels on the tractor. After rolling the tractor outside, I applied the brake and underhood decals. Finally, I removed the old decal from the inside of the steering wheel center cap with a heat gun and applied the new one. All of this occurred during August and September, 2006. (9-13-06) |
|
|
|
 |
|
|
|
|
|
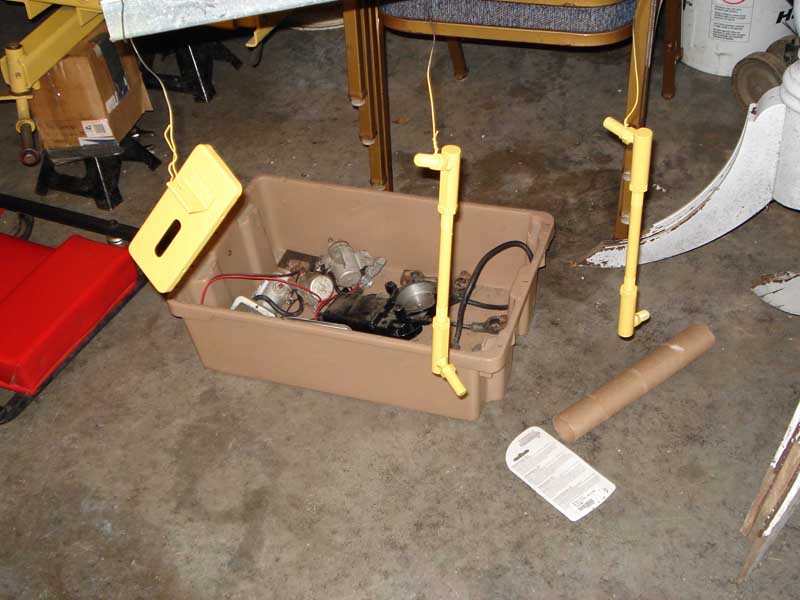
I had to paint these parts myself, they were missed the first time around. The paint matches, five years later. |
|
|
|
|
|
 |
|
|
|
|
|
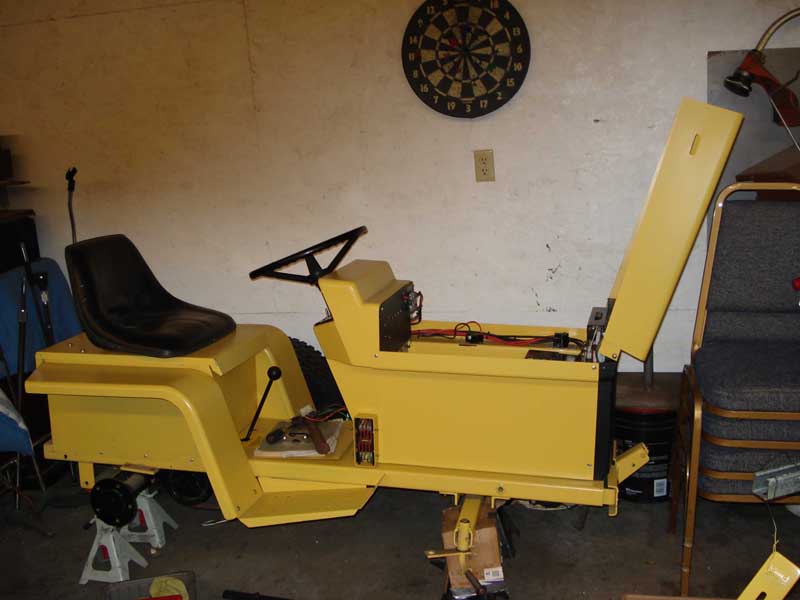
Wheels haven't been painted yet, almost everything else is there. Notice the very important Homeowner's Service Manual. |
|
|
|
 |
|
|
|
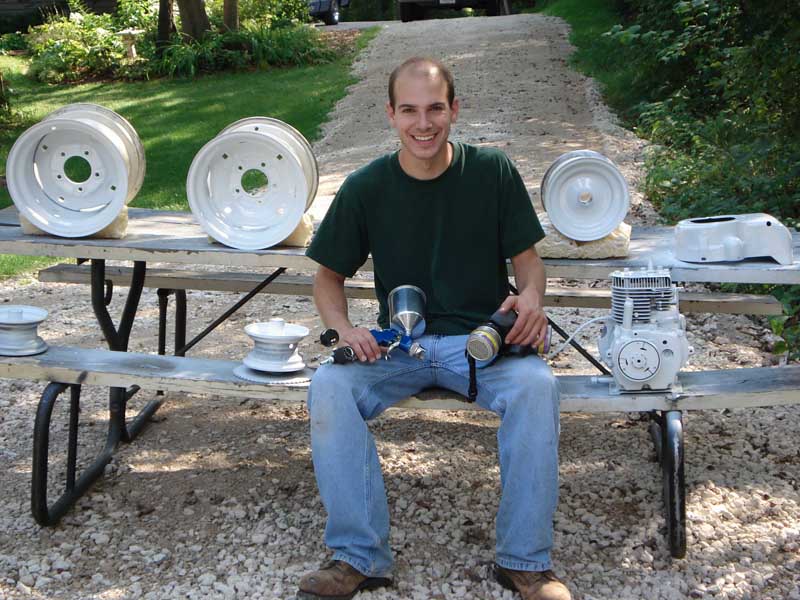
In the spray booth, just after painting the wheels (and some minibike parts). |
|
|
|
 |
|
|
|
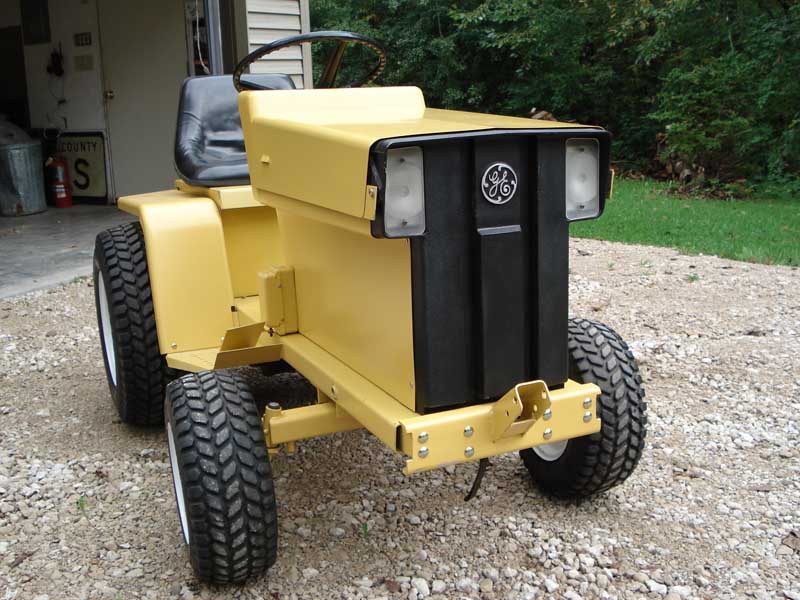
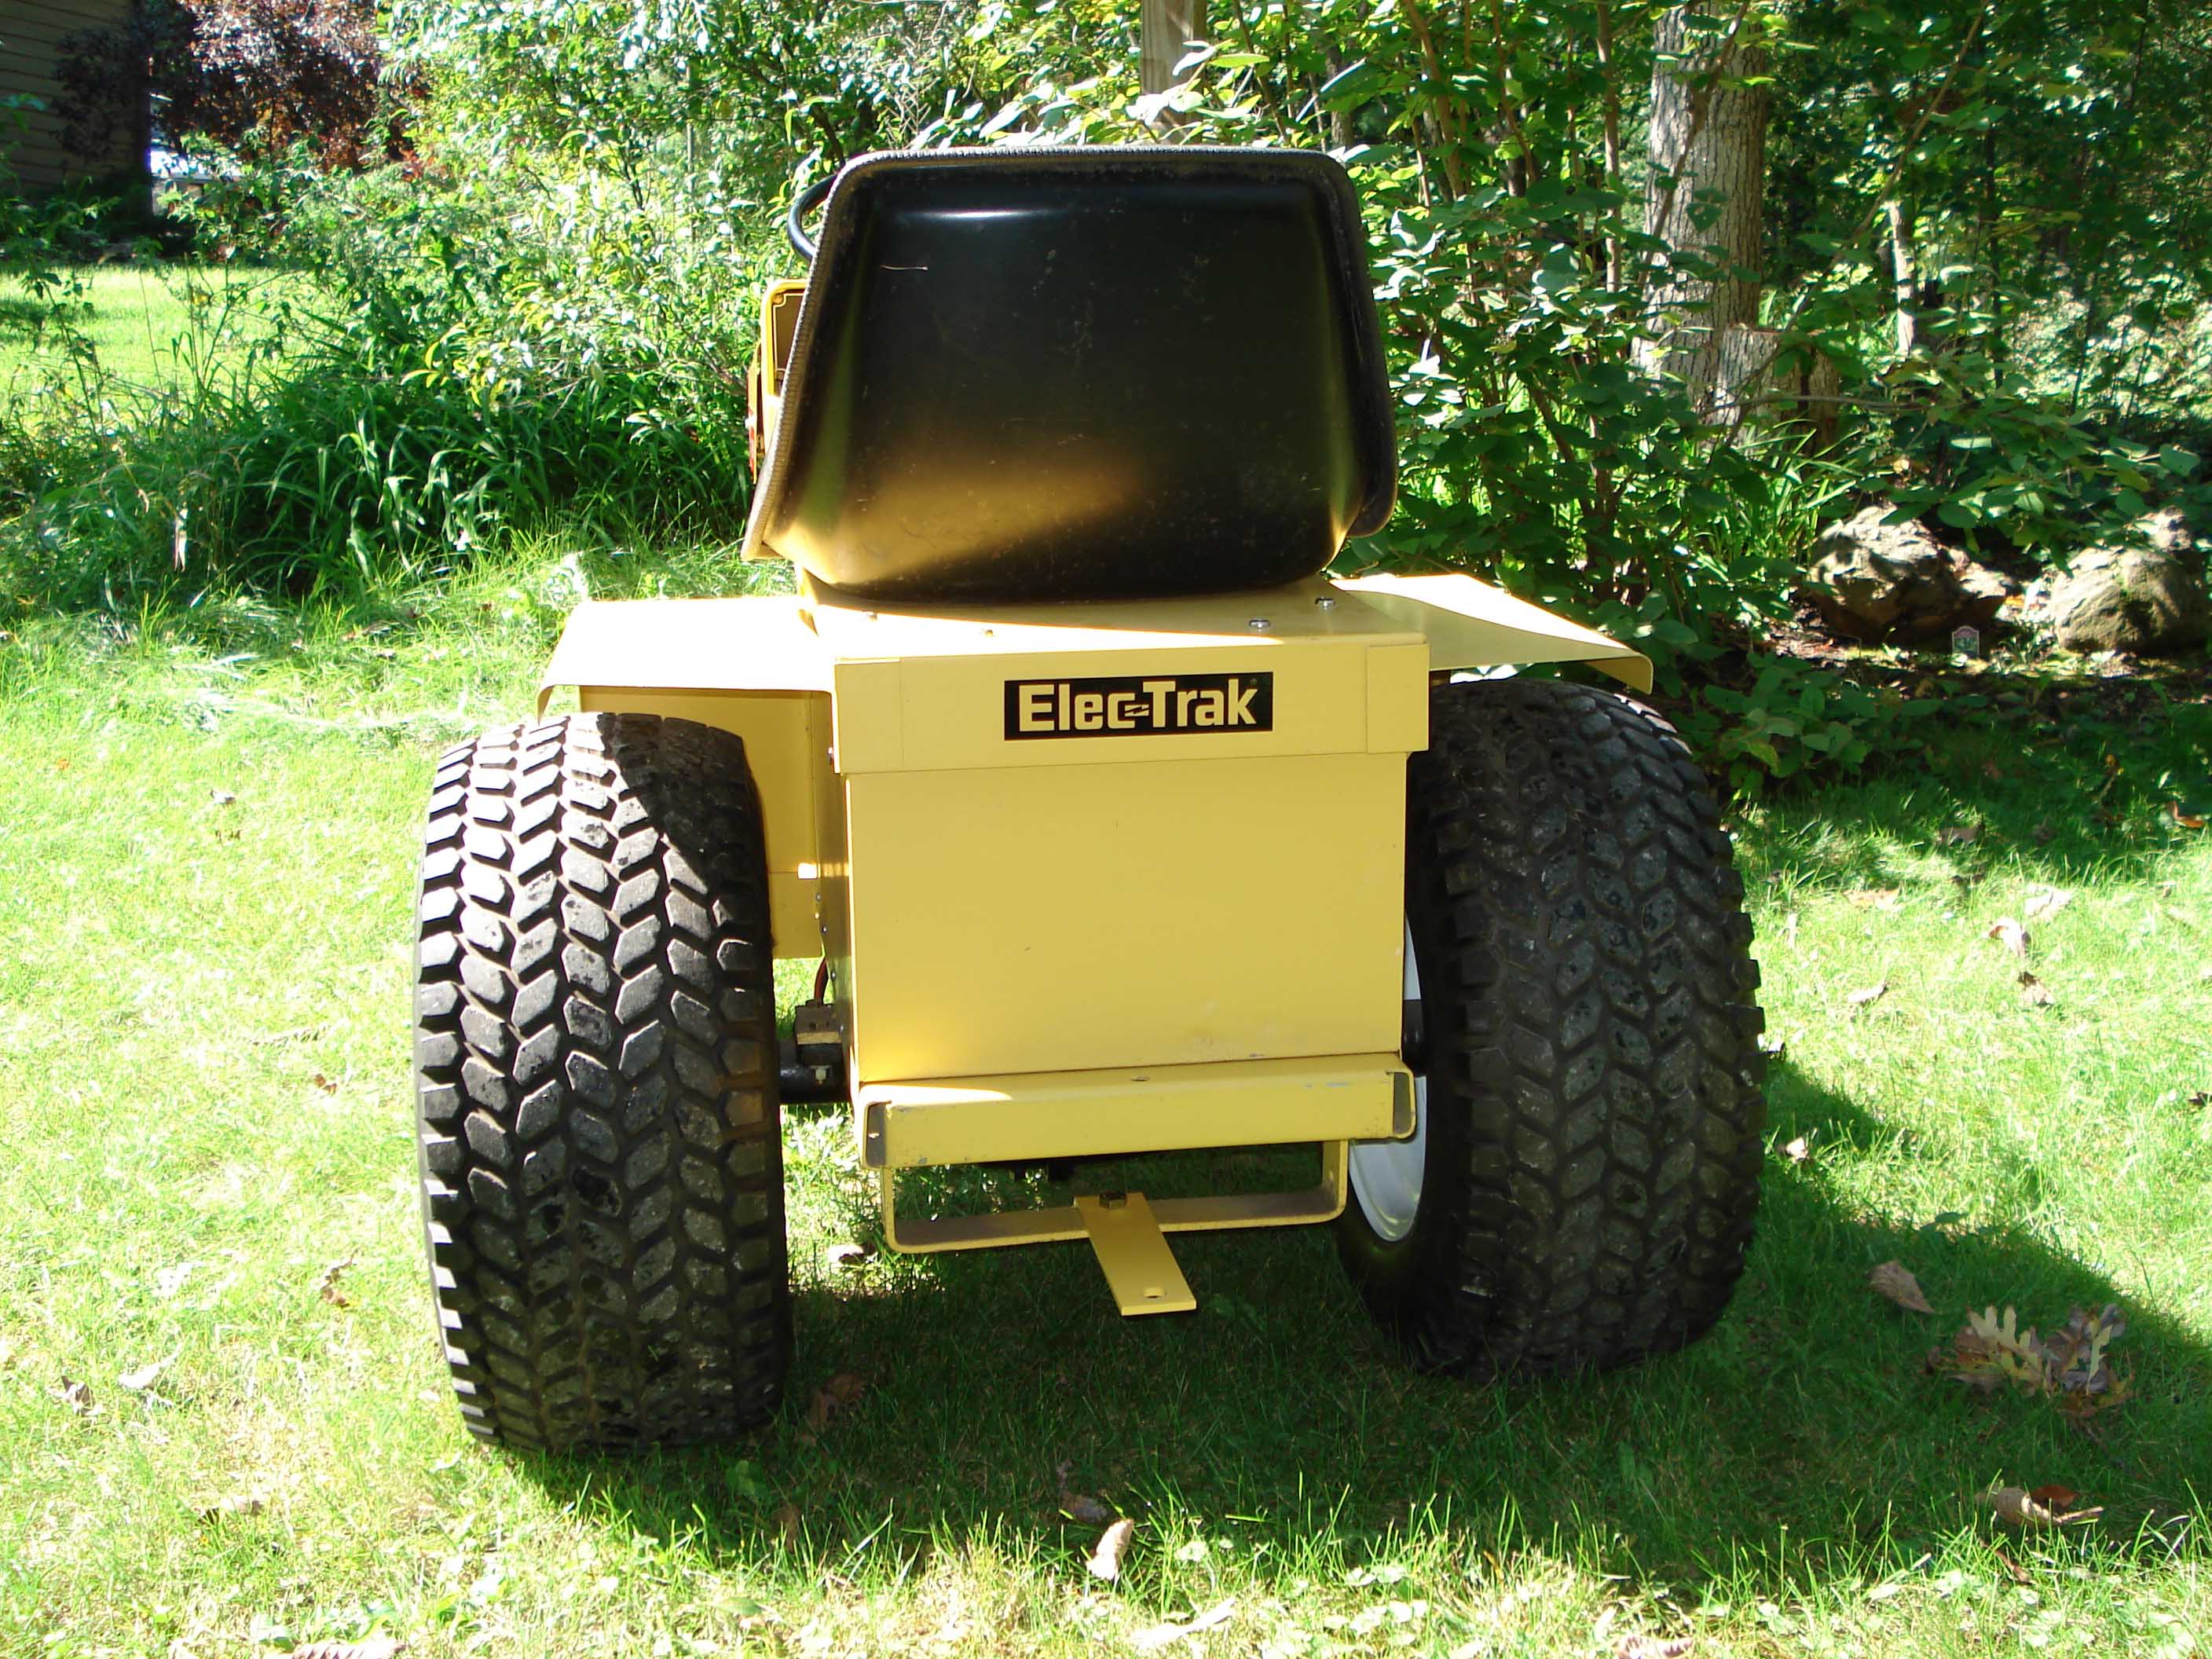
Wheels and tires on and out in its natural environment. The rear tires I mounted myself but I paid Pomp's Tire to do the fronts. |
|
|
|
 |
|
|
|
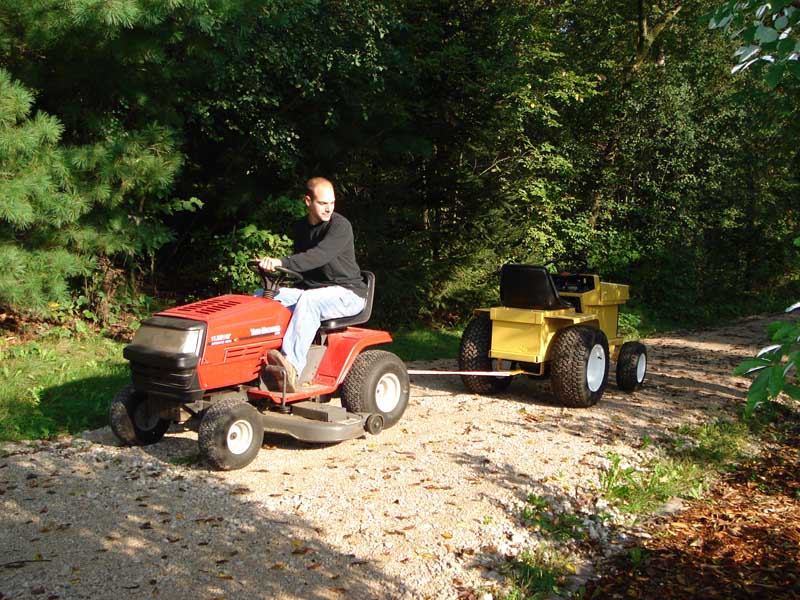
Today I towed the Tractor to Technical Service using the powerful Yard Machines tow vehicle. The Elec-trak was a little embarassed about the situation, but it had to be done. Anyway, after connecting a few wires that I missed, Bill and I connected the tractor to a power supply and checked it out. The tractor seemed a little tired initially and appeared to have some electrical problems but these quickly sorted themselves out with use. This means that there are only a few things left to do and the tractor is finished. Namely, purchase and install batteries, tie back the wires to where they belong, and apply the rest of the decals. (9-14-06) |
|
|
|
|
|
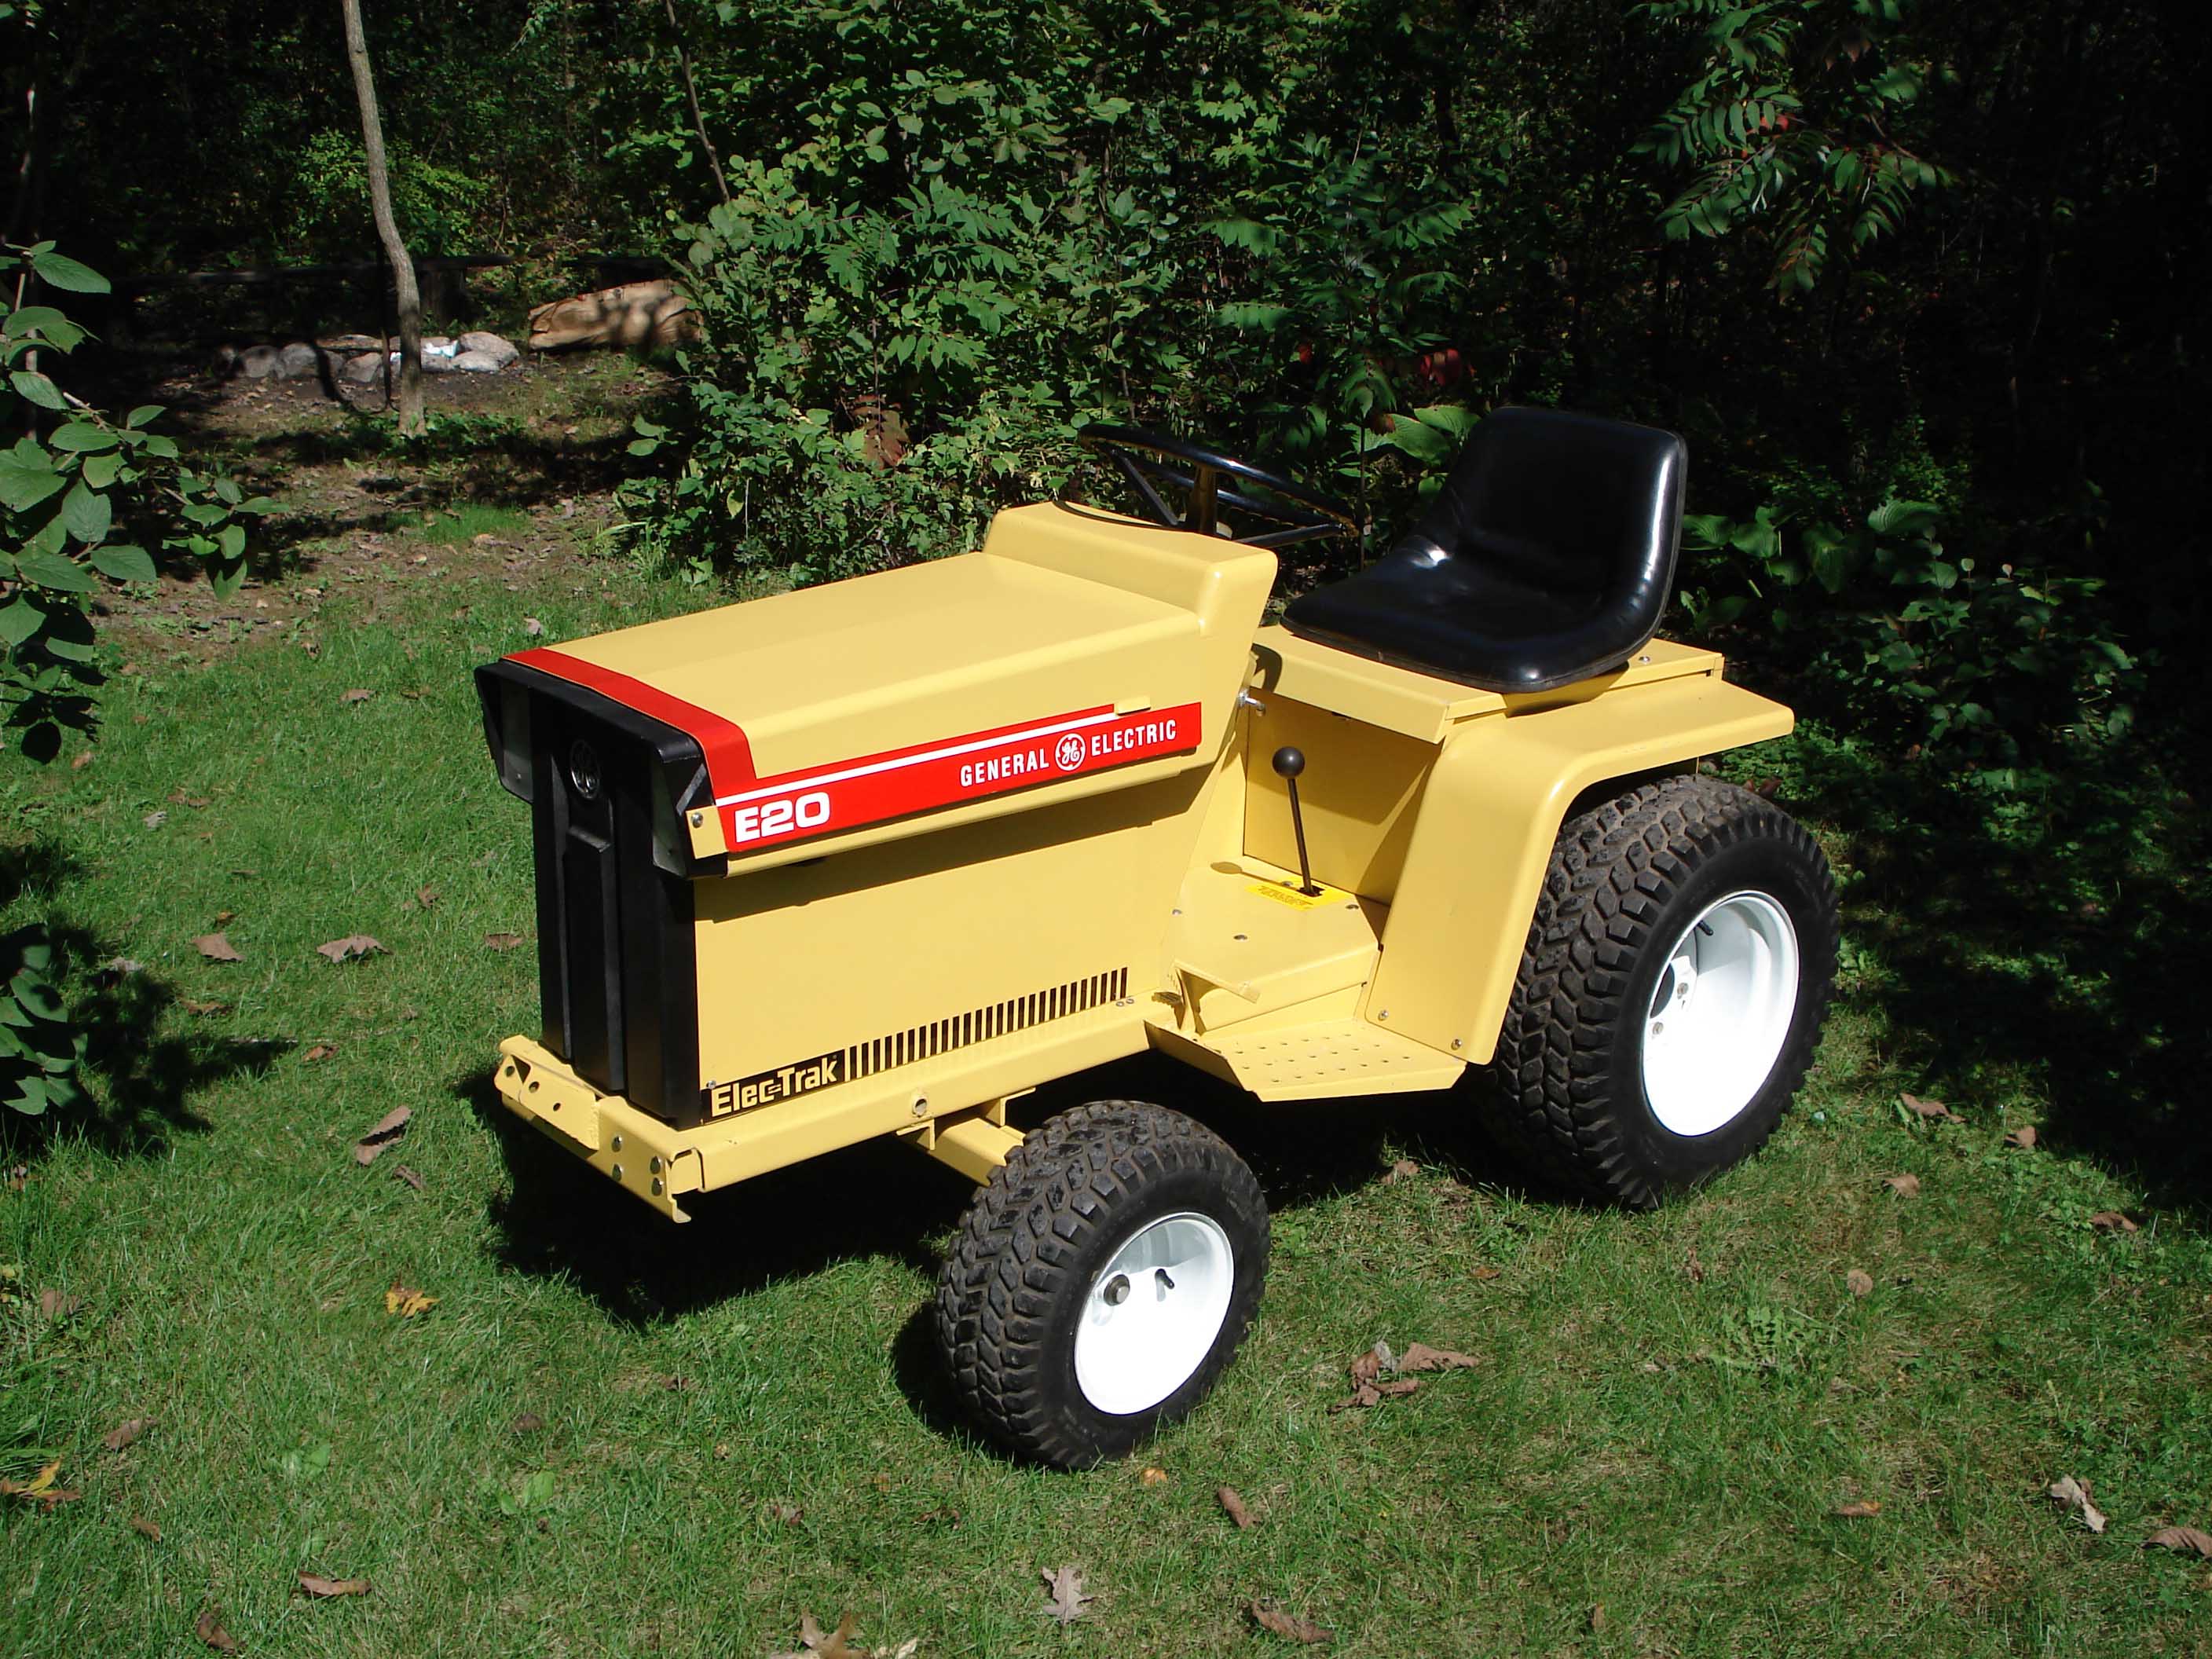
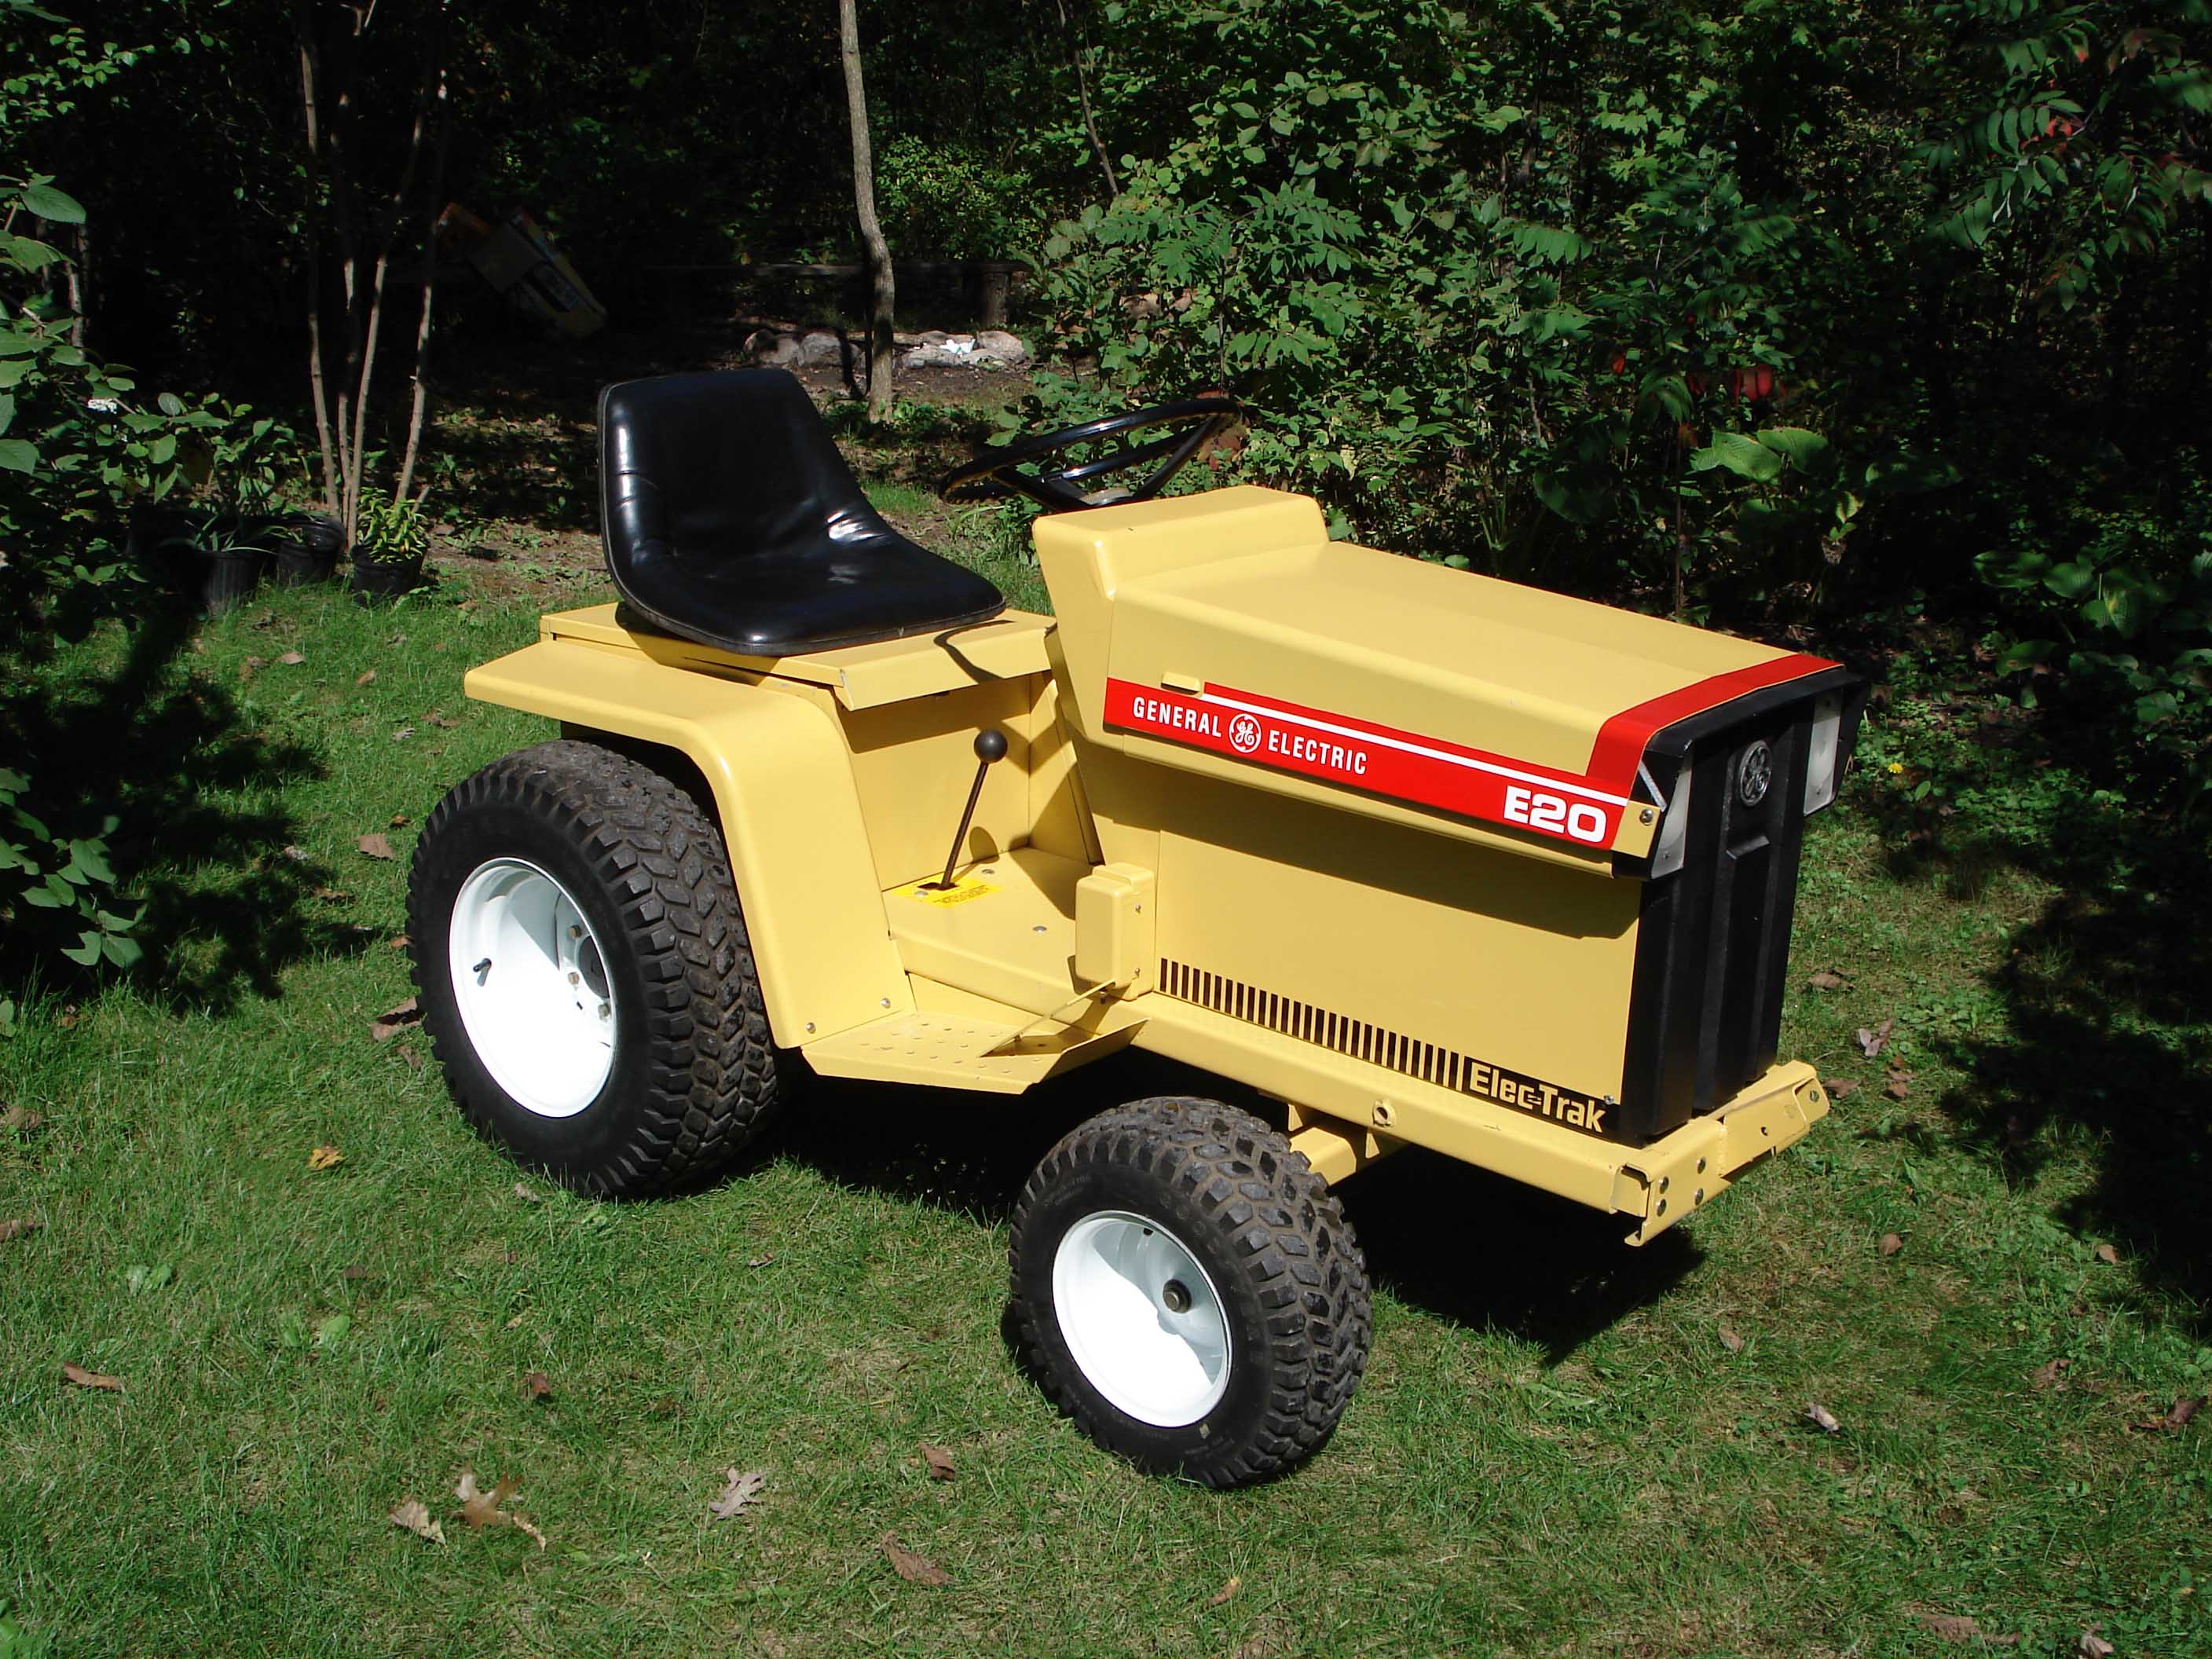
I applied the decals today. The tractor looks a lot better with decals. All I have left to do now is to find some batteries. Since I am not actually going to do any work with this tractor, I plan to try to get some used batteries from a store or a golf course. (9-17-06) |
|
|
|
|
 |
|
|
 |
|
|
 |
|


